


In today's security-conscious world, hidden cameras have become indispensable tools for both professional surveillance and personal protection. Yet, one of the biggest challenges users face is installing a spy camera without drilling or damaging surfaces. Whether you're a renter, office user, or simply prefer a clean aesthetic, this guide will walk you through innovative, no-drill installation methods that maintain performance while keeping your space intact.
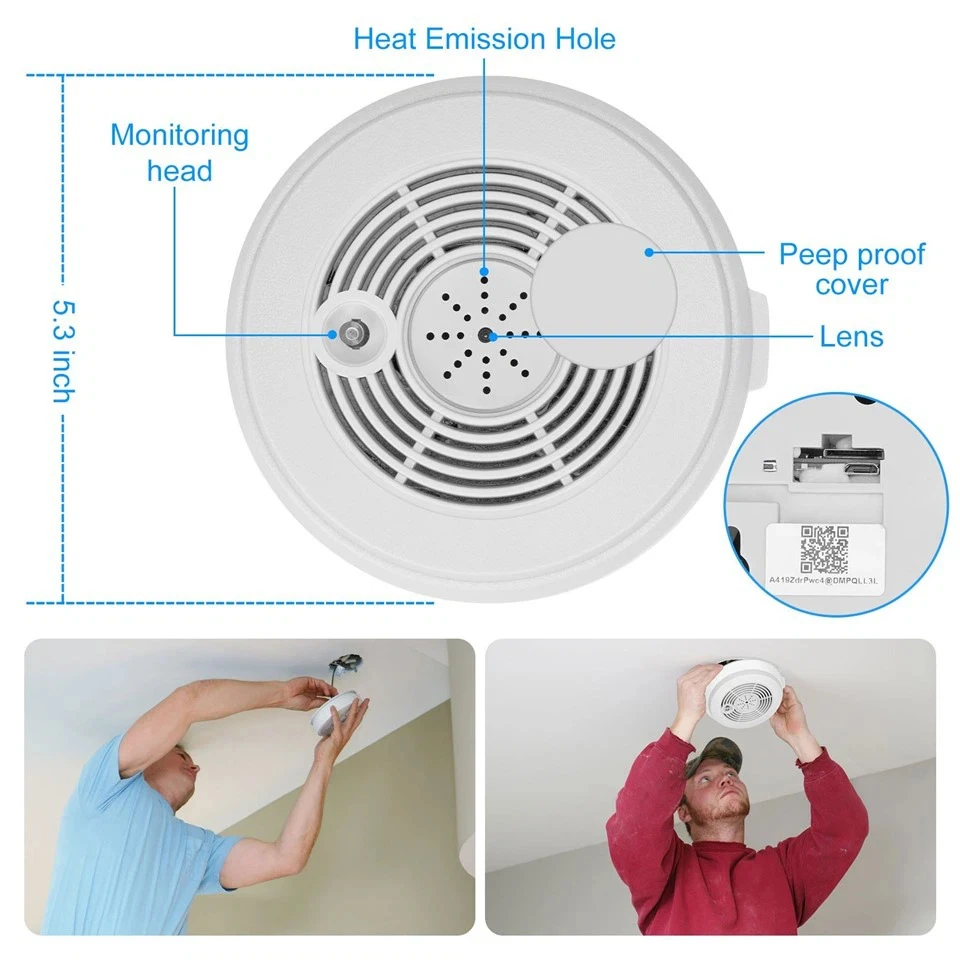
Why Choose Non-Drilling Installation?
Traditional camera installation typically involves drilling holes for brackets or wiring. While effective, this approach can:
- Damage walls, ceilings, or furniture
- Violate rental agreements
- Make your security setup visible and easy to spot
- Limit flexibility in repositioning cameras
Using non-drilling installation methods solves these issues while offering similar stability, easier repositioning, and a truly "renter-friendly" experience.
Method 1: Adhesive-Based Mounting
Best for: smooth, flat surfaces like walls, windows, or furniture panels.
Materials needed:
- High-strength adhesive hooks or pads
- A camera with a flat or compatible mounting surface
Steps:
- Clean the target surface thoroughly with alcohol wipes.
- Apply adhesive hooks or pads following manufacturer instructions.
- Allow full curing time (typically 24 hours).
- Attach the camera bracket or directly mount the unit.
- Adjust the camera's angle for optimal coverage.
Pro Tip: For heavier cameras, reinforce with clear silicone sealant around the edges or use multiple adhesive points for added support.
Method 2: Magnetic Mounting Solutions
Ideal for: metal surfaces such as filing cabinets, appliances, or beams.
Implementation:
- Attach a magnetic strip to the camera base (if it's not already magnetic).
- Locate a suitable ferrous surface in your monitoring area.
- Place the camera and fine-tune its viewing angle.
- For non-metal surfaces, use an adhesive-backed steel plate as the anchor.
Magnetic mounts allow effortless repositioning and 360° rotation-perfect for temporary or mobile surveillance setups.
Method 3: Furniture Integration
Creative concealment ideas:
- Bookshelves: Hide the camera among books with the lens peeking through a spine gap.
- Decor items: Conceal within photo frames, artificial plants, or clocks.
- Electronics: Blend into setups with routers, speakers, or computer peripherals.
Power options:
- Use existing USB ports in entertainment centers.
- Route cables along furniture edges using discreet cable clips.
- For complete freedom, choose battery-powered spy cameras or wireless mini models.
Method 4: Ceiling Tile Installation
Perfect for offices and commercial environments with drop ceilings.
Steps:
- Choose a lightweight hidden camera model.
- Cut a small, reversible notch in a ceiling tile.
- Suspend the camera using adjustable tension rods or brackets between grid rails.
- Route power discreetly through nearby light fixtures or HVAC access panels.
This creates nearly invisible, top-down coverage without any permanent alteration.
Method 5: Tension Pole Mounting
Best for: corners and tall rooms.
Steps:
- Measure the ceiling-to-floor distance.
- Install an adjustable tension pole with a universal camera mount.
- Extend it until secure between ceiling and floor.
- Attach and align your spy camera.
This setup offers wide coverage and zero surface damage, with all weight distributed between two contact points only.
Method 6: Vent or Duct Concealment
HVAC integration technique:
- Select a slim-profile hidden camera.
- Remove the vent cover and test the camera's fit.
- Adjust vent slats slightly for a clear field of view.
- Secure the camera inside using zip ties or small brackets.
- Replace the vent cover and run power cables neatly along the duct.
This approach ensures discreet surveillance of entryways or corridors while maintaining airflow efficiency.
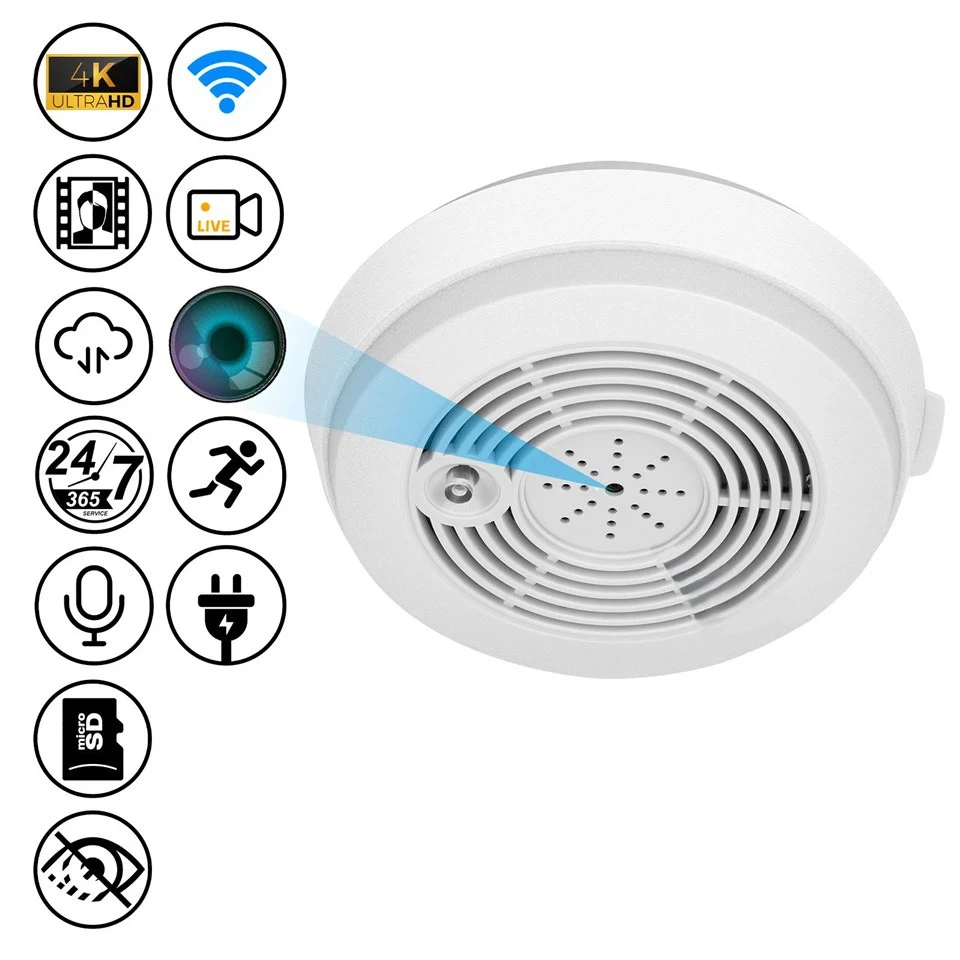
Power Solutions Without Wiring
If you're avoiding drilling, it's likely you'll want to minimize wiring too. Here are your best wire-free power options:
- Battery-powered cameras: Modern lithium batteries can last 6–12 months.
- Solar-powered cameras: Small, decorative solar panels provide sustainable energy.
- Power-over-Ethernet (PoE): Combines power and data in a single cable if a network port is nearby.
- Wireless charging docks: Compatible with select mini spy camera models.
Optimizing Camera Placement
For maximum effectiveness, keep these placement principles in mind:
- Focus on entry points: Doors, hallways, and ground-floor windows.
- Protect valuables: Cover safes, artworks, or sensitive storage areas.
- Use elevation: Higher mounting provides a wider field of view.
- Mind the lighting: Avoid direct sunlight or reflective surfaces that affect IR night vision.
- Stay compliant: Always follow your region's privacy and recording laws.
Troubleshooting Common Issues
|
Problem |
Solution |
|
Camera slips over time |
Use adhesive promoters or switch to a stronger mounting base. |
|
Narrow viewing angle |
Add a swivel mount or choose a wide-angle lens model. |
|
Visible wiring |
Use paintable cord covers or route cables behind moldings. |
|
Weak WiFi signal |
Reposition closer to your router or use a WiFi extender. |
Legal and Ethical Considerations
Hidden cameras are valuable security tools, but ethical use is essential. Always:
- Avoid installation in private areas such as bathrooms or changing rooms.
- Disclose surveillance when legally required.
- Follow local regulations on audio and video recording.
- Secure recorded footage using strong encryption and password protection.
Conclusion
Installing a spy camera without drilling is not only possible-it's often the smarter choice. By using adhesive, magnetic, or tension-based solutions, you can achieve professional-grade, discreet surveillance without damaging walls or violating lease terms.
For dealers and professional installers, these non-invasive methods provide added value to clients seeking flexibility and discretion. For end-users, they offer convenience, portability, and peace of mind-all without a single hole in the wall.